
 English
 Deutsch
How to Prepare Images for Retouching: Brief Guide
November 20, 2026
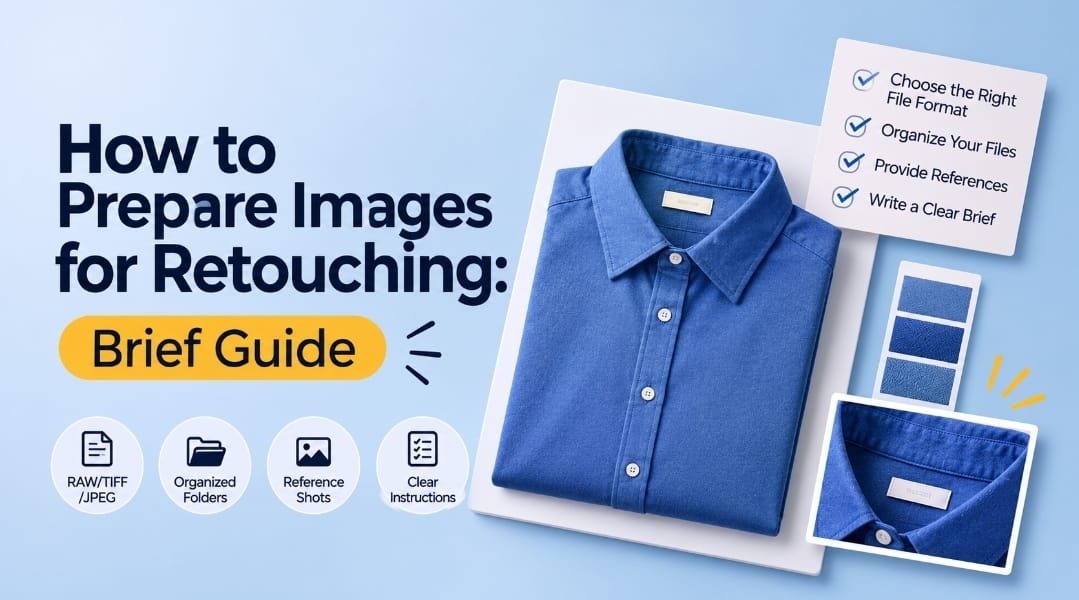
The quality of a retouched image starts long before the editing begins. A clear brief, organized files, and the right reference shots help a retoucher deliver what you actually want on the first pass. Missing information leads to guesswork, extra revisions, and delays.
Preparation does not have to be complicated. A few consistent habits will save time and money on every batch you send. Most of the work is simply making sure the retoucher has what they need to understand the product, the brand, and the result you expect.
This guide walks through a practical checklist for preparing your photos, including file formats, naming, reference images, style notes, inside-label shots for ghost mannequin work, and how to write a brief that gets results.
Why Preparation Matters Before You Send Photos
Retouchers work from the files and information they receive. If those are incomplete or unclear, they have to make assumptions. Assumptions are where mismatches happen.
Good preparation reduces revisions. When the brief explains the style, color targets, and level of retouching, the first delivery is more likely to match your vision.
Good preparation speeds up turnaround. Organized folders, consistent naming, and clear priorities let the work move without back and forth messages.
Good preparation protects accuracy. Reference shots of the physical product give the retoucher something real to check against, which matters most for color, texture, and construction.
Choose the Right File Formats
File format affects how much editing flexibility the retoucher has.
RAW files give the most latitude for exposure and white balance adjustments. If you shoot RAW, send the RAW files or a high-quality export that retains the original data.
TIFF files are lossless and preserve detail well. They are a strong choice when you need maximum quality without the size of some RAW workflows.
High-quality JPEG files are common for batch work. Export at the highest quality setting available, and avoid repeated re-saving, since each save adds compression.
Avoid sending heavily compressed images, screenshots, or files that have already been edited in a way you do not want changed. If an image has been adjusted, note what was done so the retoucher does not repeat or undo it.
Confirm the color space with your retoucher before sending. A consistent color profile across the batch helps keep colors predictable.
Name and Organize Your Files
Clear naming makes a batch easier to manage and easier to return.
Use a consistent naming pattern. Include the product name or SKU, the color, and the shot type. For example, a naming structure built from SKU, color, and view keeps every file traceable.
Group files by product. Keep all shots for one item in a single folder. This makes it easy to compare angles and ensure the set is complete.
Separate different treatments. If some images need background removal and others need on-model retouching, group them separately so instructions stay clear.
Keep originals untouched. Send copies for editing and keep the originals safe. If a revision is needed, you can return to the source without losing information.
Remove unused files. Sending only the images that need work reduces confusion and avoids accidental edits to the wrong frames.
Provide Reference Images
References tell the retoucher what the product really looks like and how the final image should feel.
Physical product reference. Include a photo of the product in neutral light or a physical swatch for color-critical items. This is the single most important reference for accuracy.
Detail reference. For fabrics, jewelry, and textured materials, send close-up photos that show weave, sheen, stone setting, or finish. Retouchers can match these details more reliably when they can see them.
Style reference. Share two or three finished images that represent the look you want. Explain what you like about them, such as the brightness, the shadow softness, or the texture level.
Examples to avoid. Showing a few images you do not want is just as useful. Describe what makes them unacceptable, such as plastic-looking skin or harsh halos.
Competitor or inspiration images. These can help set the direction, but make clear whether you want to match the mood, the framing, or only the general quality.
Inside-Label Shots for Ghost Mannequin Work
Ghost mannequin photography removes the mannequin and shows the garment as if worn. Inside-label shots are important because they reveal details that a retoucher cannot invent.
Photograph the inside neckline label. Show the brand label, size tag, and fabric content if they are visible inside the garment. These details help the retoucher reproduce the correct product information.
Capture the inside back neck and collar. The internal construction, such as lining, tape, or seam finishing, often appears in the neck area after compositing.
Include hem and cuff details. Inside hems and cuffs show finishing that customers may check, and they help the retoucher align edges accurately.
Shoot these consistently. Use the same camera position, lighting, and background across the set so the composite stays coherent.
Write a Clear Brief
A brief is the instruction sheet that turns your preparation into direction. Keep it short, specific, and organized.
State the goal. Explain where the images will be used, such as product pages, marketplace listings, or social media. This shapes crop, background, and level of retouching.
Define the background. Specify pure white, light grey, or a specific tone. Note whether shadows are wanted and how soft or strong they should be.
Set the crop and margins. Describe the aspect ratio, the amount of space around the product, and whether the product should fill the frame.
Describe the retouching level. Say whether you want minimal correction, moderate refinement, or heavy work. For skin, state whether texture should remain visible.
Give color targets. Share the swatch or reference for each color and note any colors that must match exactly.
List the deliverables. Specify file type, dimensions, color profile, and any naming or folder structure required on return.
Note the priorities. If some images are more important, mark them. Retouchers can allocate time more wisely when they know which shots matter most.
Pre-Send Preparation Checklist
- Files are in the agreed format and quality
- Originals are kept safe and copies are sent for editing
- Files are named with SKU, color, and view
- Images are grouped by product and by treatment
- Physical product reference or swatch is included
- Detail close-ups are provided for textured or detailed items
- Two or three style references are attached with notes
- Inside-label and interior shots are included for ghost mannequin work
- The brief covers goal, background, crop, retouching level, and color targets
- Deliverables, file type, and folder structure are specified
- Priority shots are marked
FAQ
Q: Should I send RAW files or JPEGs for retouching?
A: Send RAW files or high-quality exports if you can. RAW keeps the most original data, which gives the retoucher more flexibility for exposure and color. High-quality JPEGs work well for many batch tasks, but avoid heavily compressed or repeatedly re-saved files.
Q: How many reference images should I include in a brief?
A: Two or three strong style references are usually enough, along with a physical product reference for color. Too many references can send mixed signals, so choose examples that clearly represent the look you want and explain what you like about each one.
Q: What is the most common reason retouching goes wrong?
A: Unclear expectations. When the brief does not specify color targets, retouching level, or crop, the retoucher has to guess. Providing a physical reference and a short written brief prevents most mismatches and reduces revision rounds.
Q: Do I need to photograph inside labels for every garment?
A: For ghost mannequin work, inside-label and interior shots are very helpful because they show details that cannot be reconstructed accurately from the outside. For simpler product photography, they may not be necessary. Discuss what your retoucher needs for each product type.
Preparing your photos well is one of the simplest ways to improve retouching results. Choose appropriate file formats, organize and name your files clearly, provide physical and style references, and write a brief that covers the goal, background, color, and deliverables. These habits make every batch faster and more accurate. When you are ready to send your first batch, explore our services and submit a few products for a free test batch.


