
 English
 Deutsch
How to Shoot Ghost Mannequin Photography: Setup & Mistakes
August 4, 2026
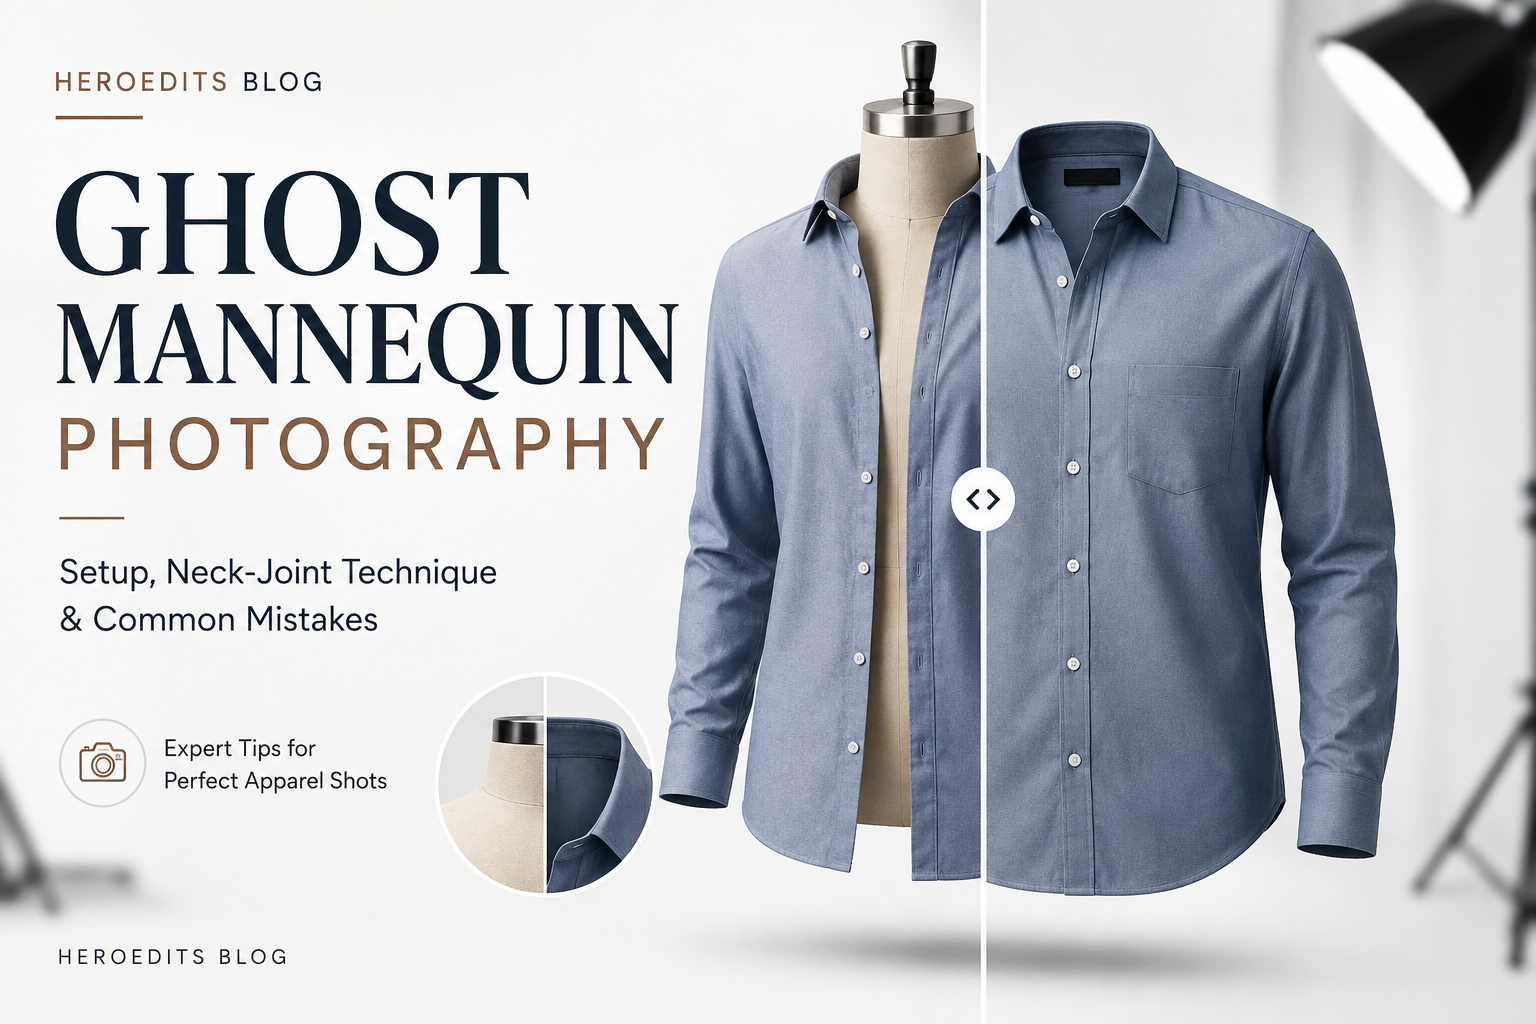
Learn ghost mannequin photography setup, lighting, neck-joint technique, and common mistakes for perfect apparel shots.
Ghost mannequin photography is the art of making the invisible visible. You photograph a garment on a mannequin, remove the mannequin in post-production, and the clothes appear to float on air. Fitted, full-bodied, and dimensionally perfect.
It's one of the most effective techniques in ecommerce apparel. When executed well, it shows every detail: sleeve shape, neckline, fit, and drape. When executed poorly, it looks amateurish and disjointed.
This guide covers everything: equipment setup, the critical neck-joint shot, common mistakes, and how ghost mannequin photography works from concept to final image.
Why Ghost Mannequin Photography Matters
Flat lay photography shows a garment laid on a surface. On-model photography shows a real person wearing it. Ghost mannequin photography is a hybrid: the shape and fit of a real body, but without the distraction of a model.
For apparel sellers, this is valuable. Customers see how the garment drapes, where seams sit, how sleeves fall, and whether the fit is loose or tailored. There's no model's pose, face, or body to distract. Just the clothes.
Ghost mannequin photography converts higher than flat lays. It shows fit without the premium cost of hiring models. It works for all sizes, colors, and styles.
The downside? It's complex to shoot and harder to edit than simple flat lays.
Equipment You Need for Ghost Mannequin Photography
Mannequin (torso or full body). Most apparel brands use a headless torso mannequin. It's cheaper, easier to position than a full-body dummy, and easier to remove in editing. Adjust the mannequin to match your target size (XS, S, M, L).
Seamless background. Use white, gray, or a neutral color that contrasts with your garment. Avoid patterned backgrounds because they're harder to remove in post-production. A large roll of seamless paper or fabric works well.
Studio lighting. Three-point lighting is standard. Key light from the front-left, fill light from the front-right, back light behind or above to separate the garment from the background. This creates dimension and shows texture.
Camera and lens. A DSLR or mirrorless camera is ideal. A 50mm or 85mm lens is standard for apparel because it's flattering and sharp.
Tripod. Keeps the camera steady and locked in place for compositing. Critical for consistency between shots.
Arms and joints (optional). Professional studios use detachable mannequin arms, neck joints, or torso extensions. These let you position garments in multiple ways without repositioning the whole mannequin.
Steamer or iron. Wrinkles show up in close-ups. Have a steamer handy to touch up the garment between shots.
The Shot List: What You Need to Capture for Ghost Mannequin Photography
A standard ghost mannequin photography setup for one garment requires at least 3 to 4 source images:
Shot 1: Front view on mannequin. The garment wearing the mannequin, front-facing, centered, well-lit. This is your main reference. Position the mannequin to show the fit: shoulders, chest, waist, length.
Shot 2: Back view on mannequin. The garment from the back. Shows back neckline, seams, stitching, any back detail.
Shot 3: The neck-joint shot. This is critical. Shoot the neckline and top chest area in close-up with the mannequin neck removed or shifted to the side. The goal is to show a smooth neckline transition from front to back without the mannequin neck visible. This is what makes the invisible mannequin look realistic.
Shot 4: Sleeves (if needed). A close-up of the sleeve to show cuff, length, and shape. Use a separate arm or mannequin arm if available.
Optional shot 5: Inside label or hem detail. A close-up of the tag, label, or hem to show quality and detail. Builds trust.
All shots should be in the same lighting and on the same background. Consistency is essential for compositing.
The Neck-Joint Shot Explained
The neck joint is the hardest and most important shot in ghost mannequin photography.
Here's what happens: You photograph the front neckline and top chest, then photograph the back neckline and top back from the same angle and distance. In post-production, an editor composites these together to create a seamless transition from front to back without the mannequin neck visible in between.
How to execute it:
Position the garment on the mannequin and shoot the front neckline and upper chest area (about 4 to 6 inches below the neckline). Carefully remove the mannequin neck or shift the mannequin to the side without moving the garment. Shoot the back neckline and upper back from the exact same angle, distance, and lighting as the front shot. Keep the garment flat and centered both times. Any rotation or shift makes compositing impossible.
The editor will blend these two shots together so the back neckline flows seamlessly from the front.
Common neck-joint mistakes:
Shooting at different angles or distances. The camera position must be locked.
Moving the garment between shots. Even a small shift breaks the composite.
Uneven lighting between front and back. Shadows or highlights that don't match make the seam visible.
Wrinkles or folds that appear differently in front vs back. Steam or adjust between shots.
Done right, the neck joint is invisible. The garment looks perfectly 3D, as if an invisible person is wearing it.
Common Ghost Mannequin Photography Mistakes
Poor lighting on the mannequin. Flat, frontal lighting makes the garment look 2D. Add dimension with side or back lighting. Shadows show shape and drape.
Misaligned shots. If your front and back views aren't shot from the same angle and distance, compositing fails. Lock your tripod and don't move the camera.
Mannequin ghosting. If you can still see the mannequin shoulder, neck, or arm outline in the final image, the masking was sloppy. A professional editor will remove it cleanly.
Wrong mannequin size. If the mannequin is too small, the garment hangs loose. Too large, it's stretched. Pick the right size for your target customer.
Overshooting and undershooting. You need front, back, and neck-joint shots minimum. Missing even one makes compositing incomplete. Extra close-ups of details don't hurt.
Inconsistent wrinkles. If the front has wrinkles and the back is smooth, it looks fake when composited. Keep the garment consistent in both shots.
Forgetting the arms. If the garment has prominent sleeves, shoot them separately. The final composite needs sleeve shape and detail, not just an empty armhole.
Poor background removal. If the background isn't cleanly removed from each shot, compositing leaves halos or traces of the original background.
The Compositing Process Explained
Once you have your source images, an editor does the compositing:
Separates each image. Removes the mannequin from the front shot, the background, and any distracting elements.
Masks the garment. Creates precise selections of the garment in each shot so only the clothing is visible.
Aligns the images. Overlays the front and back views so seams, necklines, and edges line up perfectly.
Blends the neckline. Carefully composites the front and back neck-joint shots to create a seamless transition.
Cleans up edges. Removes any halos, artifacts, or rough transitions.
Color-corrects. Ensures the front and back match in tone, saturation, and lighting.
Adds shadows (optional). Some editors add a subtle drop shadow or floor shadow to ground the garment and give it dimension.
This is complex work. It's not just removing a background. It's blending multiple images into one cohesive, realistic shot.
Ghost Mannequin Photography Shot Checklist
- Mannequin size matches target customer size
- Background is neutral and consistently lit
- Key light, fill light, and back light are positioned for dimension
- Front view shows full garment on mannequin, centered, no wrinkles
- Back view shows back detail, same angle and distance as front
- Neck-joint shots are captured: front neckline and back neckline from the exact same camera position
- Garment doesn't shift between front and back shots
- Lighting is consistent between all shots
- Sleeves are shot separately if prominent
- Camera is locked on tripod for all shots
- Garment is steamed between shots if needed
- Extra close-ups of details (cuffs, hems, labels) are captured if needed
FAQ
Q: Can I use a regular dress form from a fabric store?
A: Yes, but professional mannequins are better. They're adjustable, have better proportions, and remove more cleanly in post-production. Budget mannequins work for small shops, but if you're shooting frequently, invest in a quality torso.
Q: Do I need multiple mannequins for different sizes?
A: Ideally, yes. An XS mannequin doesn't fit an L garment. If you sell a wide range, have a few mannequin sizes on hand. Alternatively, shoot large sizes on a larger mannequin and adjust in post-production, but this is harder.
Q: How much does ghost mannequin editing cost?
A: It's more expensive than simple product shots because of the compositing labor involved. Many editors charge per shoot (front, back, neck-joint) rather than per final image.
Q: Can I do ghost mannequin photography myself?
A: You can shoot it yourself if you have basic studio space and understand the shot list. Compositing is harder. Unless you're skilled in image editing, hiring a professional editor for this is recommended.
Ghost mannequin photography is a skill that pays dividends for apparel brands. When executed well, it shows fit and detail that flat lays and on-model photos can't match. The investment in proper equipment, lighting, and professional editing is worth every penny. For complex ghost mannequin compositing and professional retouching, our ghost mannequin editing service handles the entire workflow: masking, blending, background removal, and color correction. Test your garments with a free test batch to see how ghost mannequin transforms your apparel listings.
%401x.svg)


